
What is desensitisation?
Desensitising your dog help them get used to new things, or help to manage fears or phobias around things. It isn't solely used for getting a dog used to a harness or lead, it can be used for getting your dog used to traffic, people, wheelie bins and much more.
Using the desensitisation process repeatedly will mean that overtime, your dog will begin to associate new and scary things as something much more positive.
What you will need:
Collar/lead/harness etc, basically any stimulus you want to work with
High value treats - cheese, chicken, hot dog, squirty cheese, something that will hold the dog's attention
How long should I conduct a session?
This answer depends on the dog, but the general rule is 3-5 minutes. We would not, however, work longer than 15 minutes a time. This is not an easy process for any dog and you always want to end a training session with the dog wanting more.
How can I tell if my dog is uncomfortable?
With this protocol the goal is to keep them comfortable and associate the collar etc as a good thing. One of the signs that they are uncomfortable is if the dog were to back up. If this happens then simply slow down the process and go back to the last step that they were comfortable with. Be sure to keep the sessions short as well. Do not push your dog too far too fast.
It is recommended that you look at the advice on Learning to Read your Dog so that you can notice more subtle signs that the dog is not feeling happy.
You can also incorporate a clicker into this training as long as your dog is not afraid of the clicker noise.
Using a clicker:
In essence, a clicker is an abbreviated way of saying "good boy." It identifies for the animal exactly which behaviour "caused" the reinforcement.
- The clicker accurately identifies the correct behaviour.
- The click sound is like a photograph which is stored in the dog’s short-term memory so he has a mental picture of what he was doing when he heard the click.
- The sound of the click is always followed by a reward.
- If a reward is worthwhile, a behaviour will happen again.
- The dog works out what he needs to do to make the click happen, to receive another treat.
- It gives the dog a good reason for paying attention to its owner.
- Because it is a positive training method, it encourages the dog to experiment, to try new things, to be creative, and to work things out for himself and not to just wait to be told what to do.
- The absence of a click can convey as much as the sound of the click does, because it can encourage the dog to try something else to make the click happen.
- The clicker works well at a distance. It is impractical to try and toss a treat into a dog’s mouth at the exact moment a desirable behaviour occurs. The clicker bridges the gap between the instant the dog performs the correct response and the time it takes to actually deliver the treat. Marine mammal trainers call this a ‘bridging stimulus’.
Why not say ‘Good Dog’ instead of clicking?
- The clicker is more precise at marking the exact behaviour. In the time it takes to say ‘good dog’ an animal may perform the desired behaviour and then move on to an unwanted response so the animal doesn’t know if the trainer liked the ‘sit’ or the ‘jumping up’ which occurred a split second later.
- It is easier to get the timing spot-on with a clicker.
- The clicker is a distinctively different sound from anything else (and how often do we use ‘good dog’ in daily conversations with our dog?)
- The clicker is consistent – its tone, pitch and volume do not vary.
- The clicker (as opposed to the voice) does not get ratty and impatient.
Using a clicker:
'Charge up' your clicker
- Or, classically condition your dog to the clicker, i.e. the click means good news to the dog and switches him on to you.
- First ensure that your dog is not noise-sensitive to the sound of the clicker by introducing him to the clicker by muffling it in a cloth or putting blu-tak on the clicker dimple.
- Click the clicker once (in-out) and give your dog a treat from your hand.
- Hint: Use something your dog really likes at first. Small pieces of soft, easily-swallowed yummy food (hot dogs, cheese etc) are best because the dog can enjoy it and be ready for the next thing quickly.
- Repeat this until your dog reacts to the clicker (by startling, pricking her ears or suddenly looking for the treat).
- Drop 6 or more treats on the floor and practise your timing by clicking just before the dog eats each treat. It also strengthens the dog’s understanding of the click-then-treat process.
- When the dog has finished checking there are no more treats on the floor, expect your dog to look at you again - capture that moment: click and drop another treat on the floor. Repeat when the dog looks at you again. You are now starting to reinforce the dog for looking at your face; you are starting to teach a ‘Watch Me’ behaviour.
Remember:
- Click (in-out/click-click) first then treat.
- A click guarantees a treat will follow, even if you click the wrong thing or click by mistake.
- On click, one reward, never multiple click.
- If you want to express your joy for an extra-special response – give just one click but give multiple treats with enthusiastic vocal and physical praise.
- Don’t click to get your dog’s attention. It will, but that is not what we are teaching the dog.
- The click ends the behaviour. It does not matter what the dog does between hearing the click and receiving the treat.
Collar:
Firstly, you need to be able to stroke your dog and touch them around the neck area. If you can't don't force it. Try again at a later date, when your dog is more comfortable with handling.
- Start off by touching and stroking your dog around their neck using one hand. Reward for allowing you to do so and give your dog space to move away if it becomes uncomfortable.
- Add a second hand and work up to your dog being touched by both hands around the neck area.
- Introduce the collar, do not attempt to put it on them at this stage. Place it on the floor and allow them to sniff at it, look at it and investigate it. if they do any of these things you can use your clicker and reward, or use your marker word, "good", "yes" etc and reward.
- Once your dog is fine to sniff at the collar, you can play with it a bit in your hands and reward for any interaction the dog has with it.
- Start stroking your dog with one hand but have hold of the collar so they begin to get used to it being closer to them, stroke them with the collar and reward.
- Move on to holding the collar in both hands and touching/stroking the dog around their neck area. They may get a bit spooked to begin with. Always allow them to move away. It may take you a few attempts to be able to do this. Reward with treats.
- It is advised that you use a quick release/clip collar as it will make it easier to do this quickly, a buckle collar leads to a lot of faff around the dog's neck and could spook them before you manage to buckle it up. If you are using a quick release/clip collar you can sit and clip the fastening, reward, unclip and reward so they begin to get used to the noise of the fastening.
- When touching your dog with the collar in both hands, start placing the collar loosely around their neck so they get used to the sensation. Do not clip it. Reward.
- Once fully comfortable with the above steps try to clip the collar around the dog's neck. If given enough time to get used to it they will just stand awating a treat. Some dogs may scarper once clipped, leave them alone and don't fret over them.
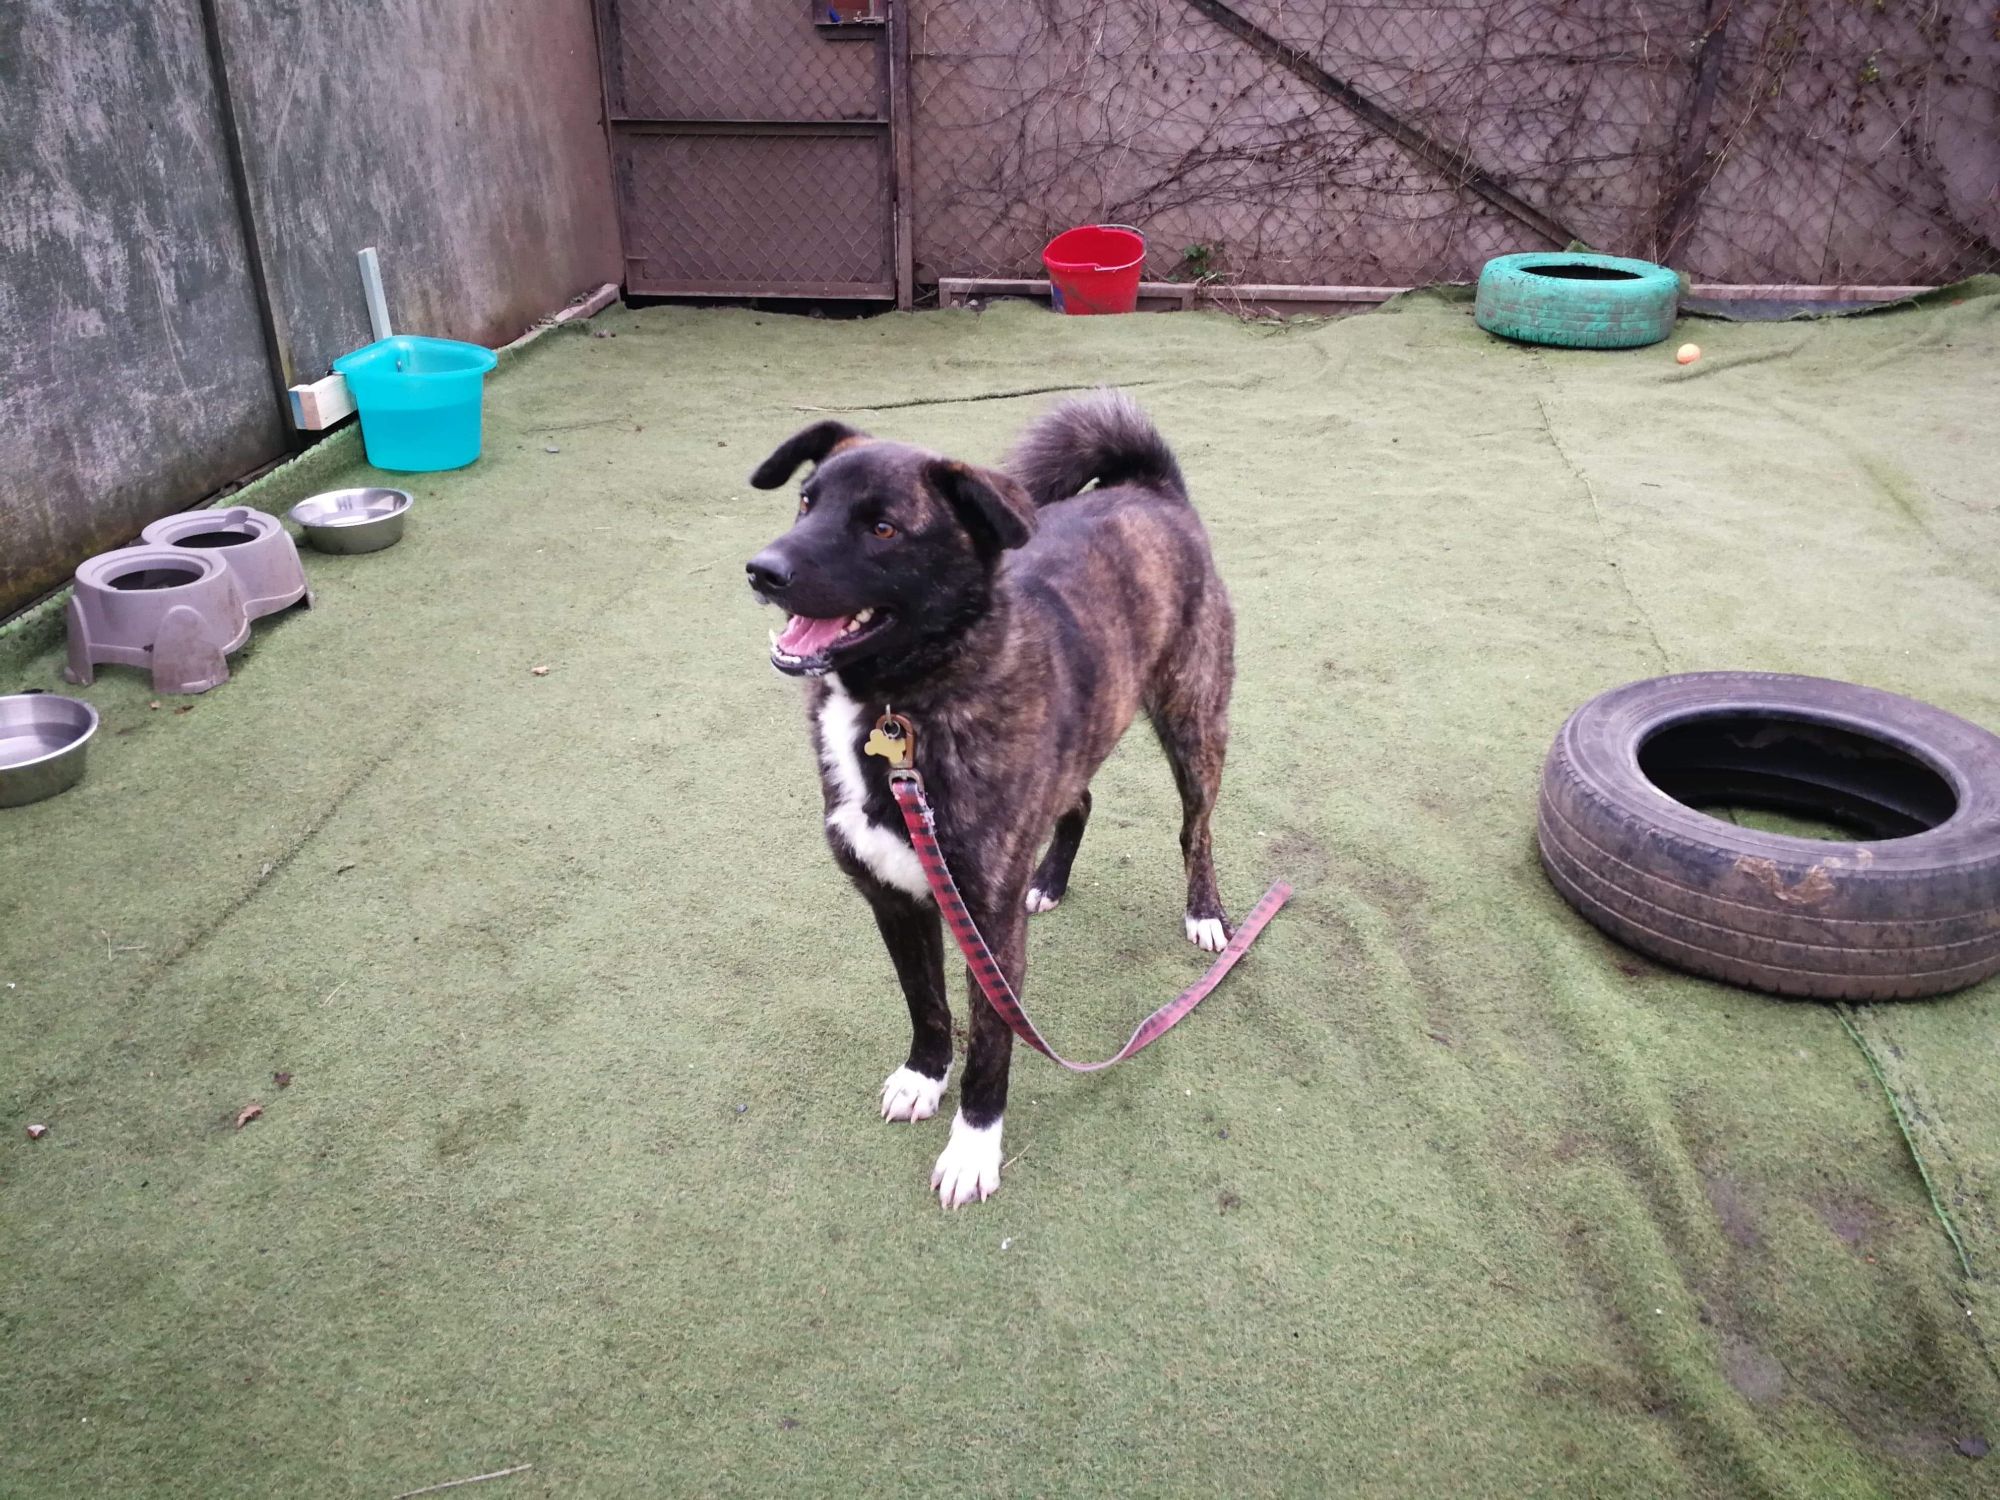
Lead:
Most dogs will go into the home with a traling line on. It is advised that you leave this trailing line on for at least a week so you can guide the dog around or move them from place to place if needed.
Timid dogs without a collar on will not be used to a trailing line following them around so it is advised that when you do manage to clip a lead on, make it a lightweight standard clip lead so they are not weighed down by a heavy lead following them around.
- Follow the steps above for desensitising to a collar, it is very similar. You can use a clicker if you want to.
- Once the lead is hooked onto the collar, leave it on.
- You will need to work up to taking it off and putting it on again in time.
- Do not rush this, it could take weeks to get to this point.
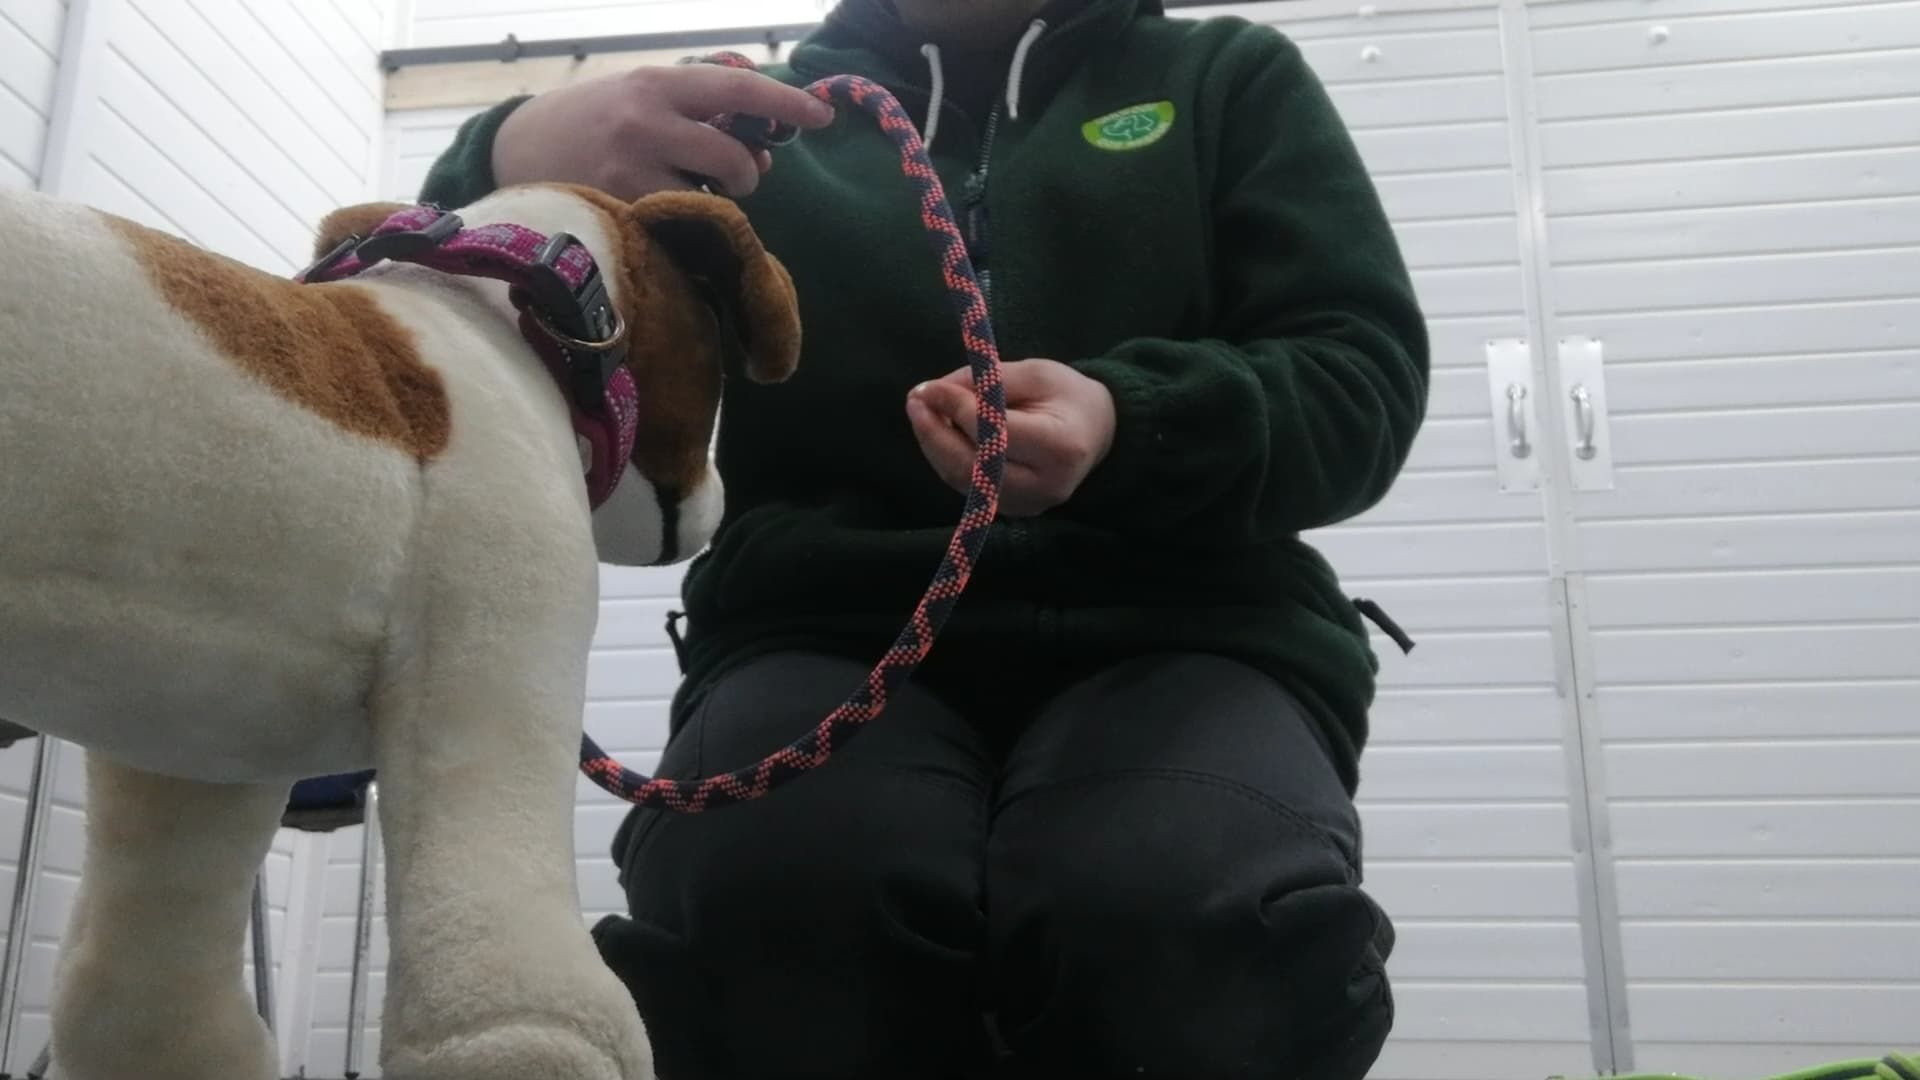
Slip-Lead:
Your dog should be double leaded for at least 3-4 weeks, more so if they are very timid. Only remove the slip lead when you are 100% sure they will not bolt away from you if something scares them. Better to be safe than sorry.
They are going to be your back up if the collar or harness fails.
Most of our dogs will have neck trauma from being catchpoled in Romania so it is important that you take slip-lead training slowly to build up a strong positive association with the slip lead.
Expect slip-lead training to take a good few weeks if not months. Your dog is having to do a lot and each step further is that bit more scary.
Do not rush.
You are not in a race. The slower you go the better.
Step 1
Follow the guidance above to introduce your dog to the slip-lead. Use treats when they look at it and sniff at it.
Make your slip lead into a large circle and hold treats at the other side - what you're trying to do is coax your dog to reach their head in to retrieve the treat.
Repeat this step for a a few training sessions and only continue when your dog is relaxed and willing to come forward and reach through the lead.
It is not you moving forward, it's down to the dog to make steps towards the lead.

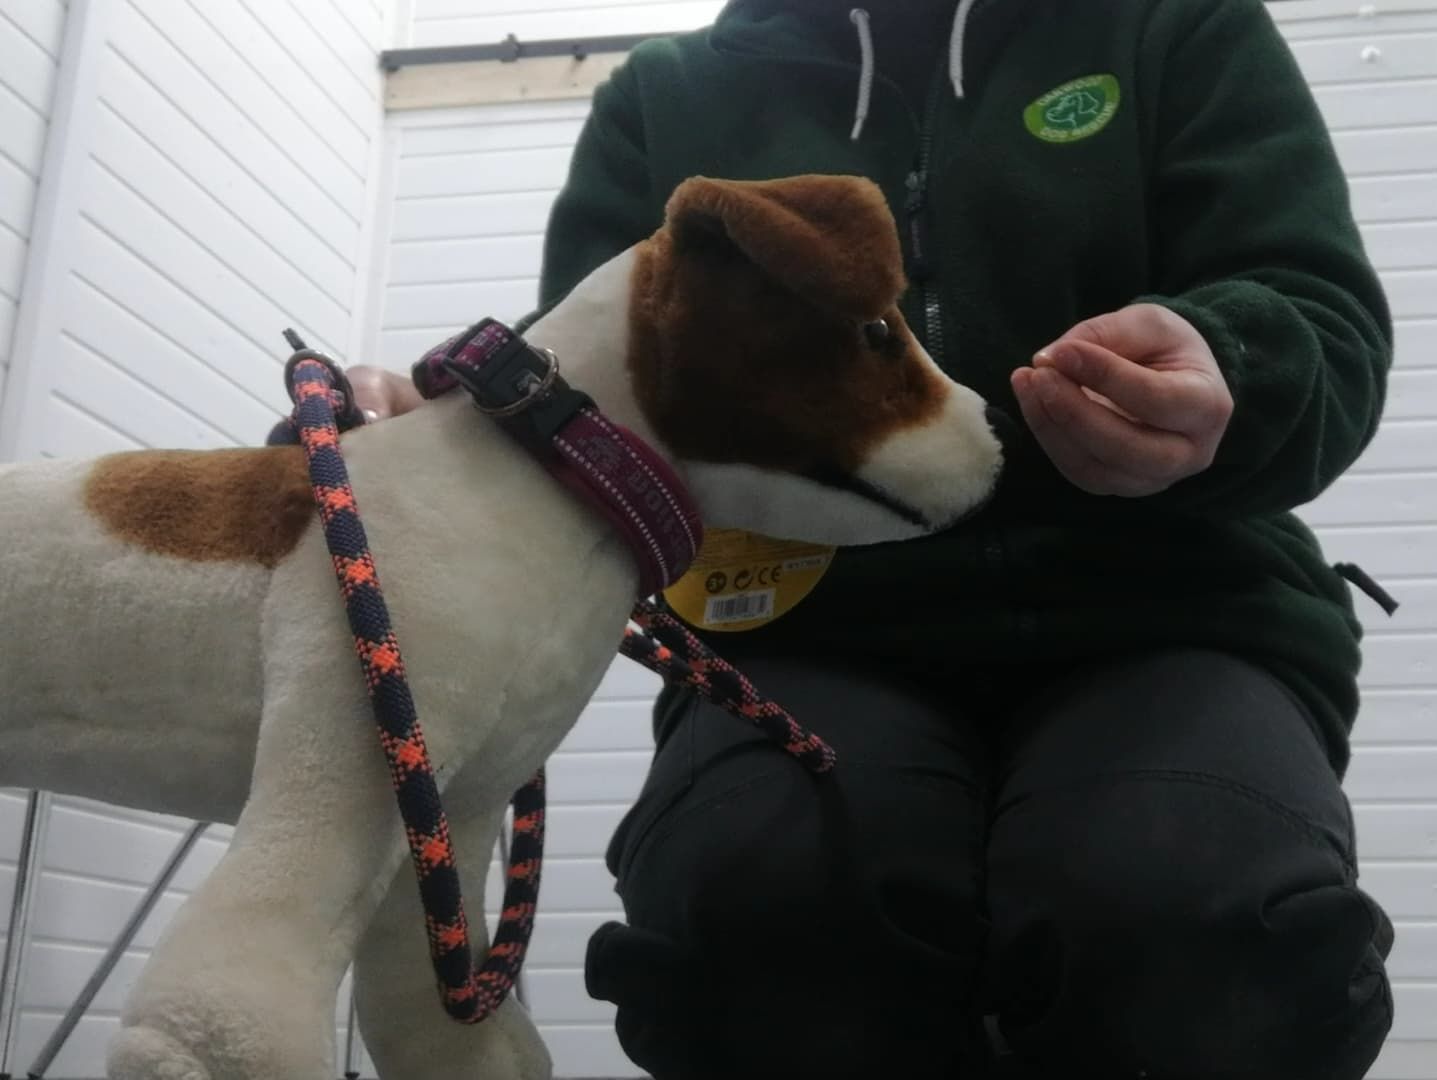
Step 2
Decrease the size of the loop and practice getting the dog to come forth and willingly place their head through the lead again.
This step can be a lot for your dog, suddenly we have increased the difficulty - the loop is smaller and much closer to their face.
You may need to practice this step for a few weeks until your dog in comfortable with the smaller loop.
If they struggle, go back to a larger loop and gradually decrease the side as you go on.
Step 3
Once your dog is happy bringing their head through the loop, increase the amount of time they are doing this, ie. from 1 second to 3 seconds, then 5 seconds.
When comfortable with this begin to move the slip-lead down the neck so it reaches near the shoulders. Repeat as much as needed.
If they're okay with this start letting go of the lead on the neck for a second, then take it back off so they get used to the sensation. This will need repeating a good few times.
When they are comfortable with this, start to tighten the slip lead a little by gently pulling it to tighten it around the neck. Then loosen it and take it off. Repeat.
Harness:
Harness training is very similar to slip-lead training.
Do not get frustrated, remember that your dog has never experienced a harness before and rushing it will only send them backwards.
You are open to the types of harness you use, however, ensure it is well fitting, is not sliding around on the dog as dogs can escape harnesses in seconds.
Practice desensitising your dog to the sounds of the velcro and clips before you start luring them to place their head into it.
Use the guide above to get the dog used to putting their head in and resting the harness on their back.
Over time clip the harness and take it off, repeat.
Once the dog has the harness on you can leave them to potter about the house and garden in it so they get used to the feel. You can also attach a tralining line to the harness too and allow them to get used to the feel of it.
Harness training can take a good amount of time. Again, it is not a race. Do not set yourself time guidelines, just work at the dog's pace.